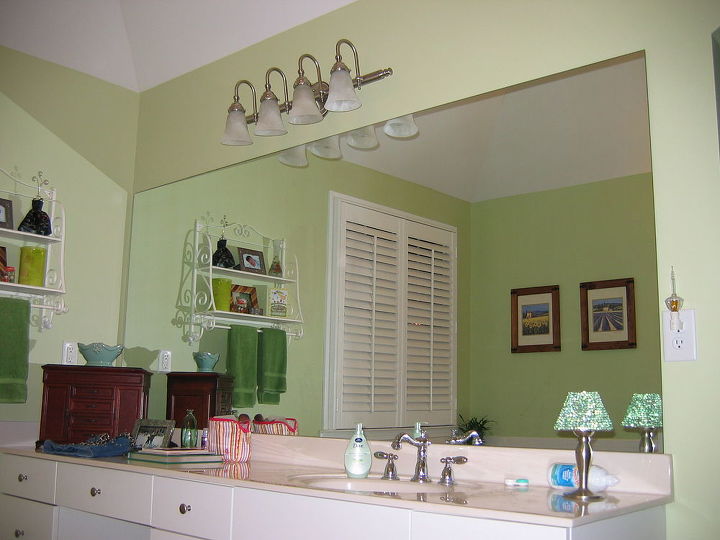
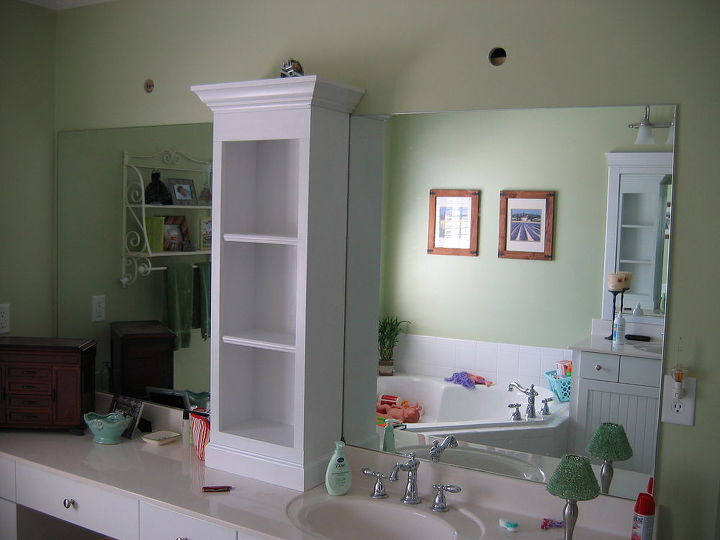
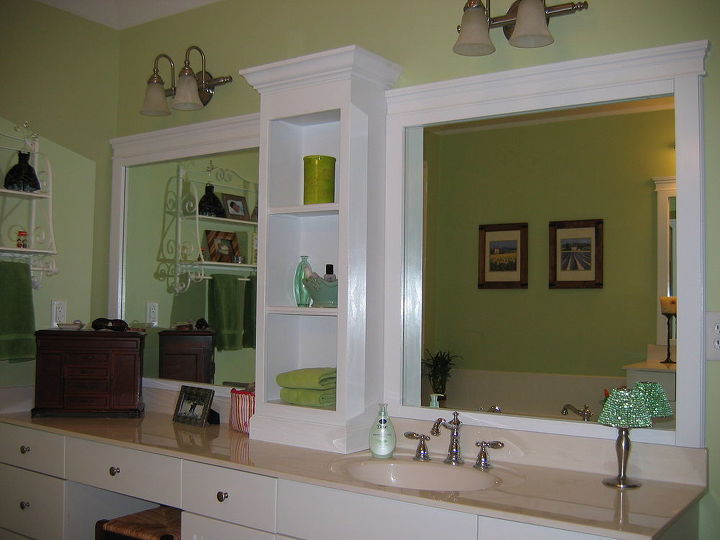
I added shelves and some trim to dress up the large bathroom mirror.
*Options I considered for this project:
We considered replacing the mirror altogether, but decided to go the less expensive route first and see how long it would buy us.
*Questions and unexpected events that arose during the project:
I didn't know how well the mirror was attached to the wall. I also didn't know how well my adhesive would adhere to the mirror and trim.
* Cost Comments:
1"x4" MDF (32 ft) - $20
1/2 birch plywd - $15
Trim (40 ft) - $20
Crown (3 ft) - $4.50
Lights - $60
*My motivation to do this project:
The mirror was large and an eye sore. We wanted something a little nicer.
*Project Steps:
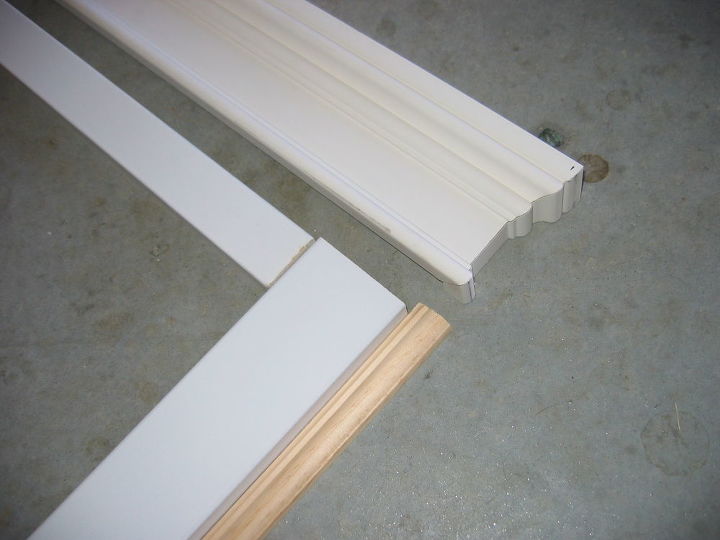
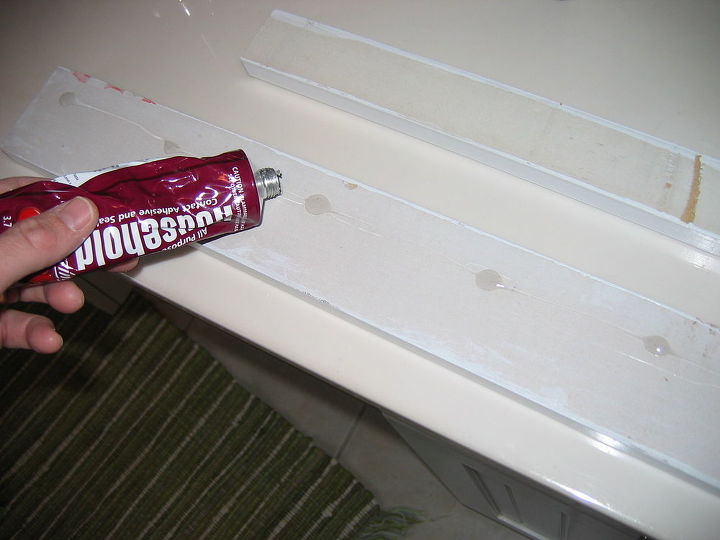
The first step was to replace the single light fixture with matching twin ones. I ran the wiring, secured the boxes and mounted the new lights. This was required due to the shelving unit. I then measured out the surface and determined the size of the shelving unit. Then I purchased the materials and started designing as I cut. The shelving unit was assembled and attached first. It was ~2 inches higher than the mirror and secured to a stud to help support the mirror against the wall. The trim and molding was measured, cut and secured using GOOP adhesive and tape to hold in place until it was dry.
Advice:
Don't assume the mirror is attached to the wall well enough to hold the additional weight. Make sure it is supported fully.
Do measure twice and cut once.
Materials:
Wood, MDF, Trim - $0.00
Light fixtures - $0.00
Suggested Project Book
Original article and pictures take cdn.hometalk.com site
Комментариев нет:
Отправить комментарий